Amazon Elastic Kubernetes Service (Amazon EKS) is a managed Kubernetes service that makes it easy for you to run Kubernetes both on AWS and on-premises. Kubernetes is an open-source system for automating deployment, scaling, and management of containerized applications. This document walks you through the steps required to use the EKS add-on from AWS Marketplace.
Prerequisites
- An Amazon Elastic Kubernetes Service (EKS) cluster. For more information, see our Kubernetes integration: compatibility and requirements and Amazon's user guide.
- A valid New Relic account. You can subscribe to New Relic for free from the AWS marketplace.
- Subscribe to the New Relic Kubernetes integration, also available for free.
- Login to New Relic and generate a license key.
重要
This add-on is currently only supported on x86 instance types, with support for ARM64 coming soon.
Provision the EKS add-on via the AWS console
Navigate to the EKS Cluster > Add-Ons > Get More add-ons.

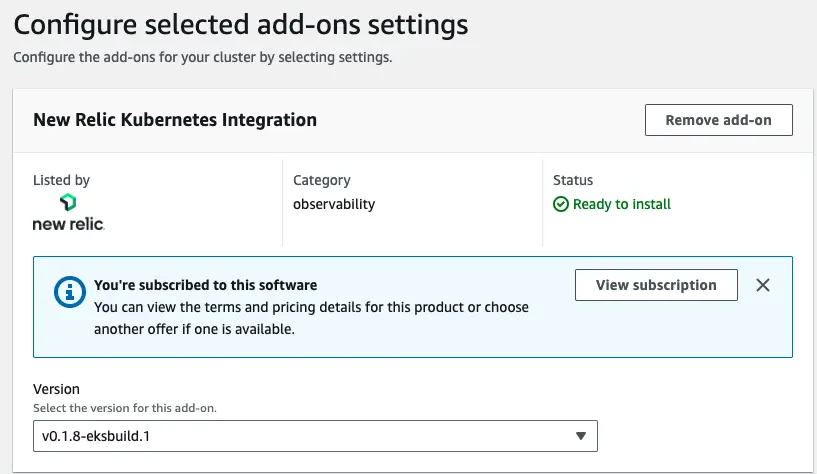
Under the AWS Marketplace add-on, search, browse or navigate to New Relic Kubernetes Integration, select the checkbox, and click Next.

Select the latest default version or choose an alternate version, if required, and click Next.

Click Create.
Within a few minutes, New Relic's Kubernetes operator should activate and begin running. Please view the configuration steps below to collect and ship observability data from your EKS cluster to New Relic.
Provision EKS add-on via the AWS CLI
Execute the following command to install the NewRelic add-on, with --cluster-name as the name of your EKS cluster.
$aws eks create-addon --cluster-name REPLACE_ME --addon-name new-relic_kubernetes-operatorYou'll receive output similar to the following:
${$ "addon": {$ "addonName": "new-relic_kubernetes-operator",$ "clusterName": "newrelic-test",$ "status": "CREATING",$ "addonVersion": "v0.1.8-eksbuild.1",$ "health": {$ "issues": []$ },$ "addonArn": "arn:aws:eks:ap-northeast-2:###############:addon/kubecon2023-127/new-relic_kubernetes-operator/6cc5e7b7-d8f1-5fa0-c668-2bc9727e16b3",$ "createdAt": "2023-07-27T11:47:57.023000-07:00",$ "modifiedAt": "2023-07-27T11:47:57.044000-07:00",$ "tags": {}$ }$ }Configure the Kubernetes operator
You can confirm that the Kubernetes operator works by executing kubectl get all -n newrelic at the CLI. To start collecting metrics and ship to New Relic, use the following sample custom resource definition (CRD):
Create a
crd.ymlfile using the definitions below, withspec.global.clusteras the name of your EKS cluster andspec.global.licensekeyas your New Relic license key.apiVersion: newrelic.com/v1alpha1kind: NRIBundlemetadata:name: nribundle-samplespec:global:cluster: "<cluster>"licenseKey: "<licenseKey>"lowDataMode: truenewrelic-infrastructure:enabled: trueprivileged: truekube-state-metrics:image:tag: "v2.10.0"enabled: truekubeEvents:enabled: truenewrelic-prometheus-agent:enabled: truelowDataMode: trueconfig:kubernetes:integrations_filter:enabled: falseOnce you have updated the desired configuration, upgrade the solution with the following command:
kubectl apply -f crd.yml -n newrelic